Most pilots use both. DJI Fly is hard to replace for basic flying, it handles the drone connection, live feed, camera controls, and intelligent flight modes with essentially zero friction. But it's intentionally limited for mission planning and utility. Third-party apps fill the gaps DJI left open.
| If you need | Best option | Cost |
|---|---|---|
| Daily flying, QuickShots, basic camera adjustments | DJI Fly (official) | Free |
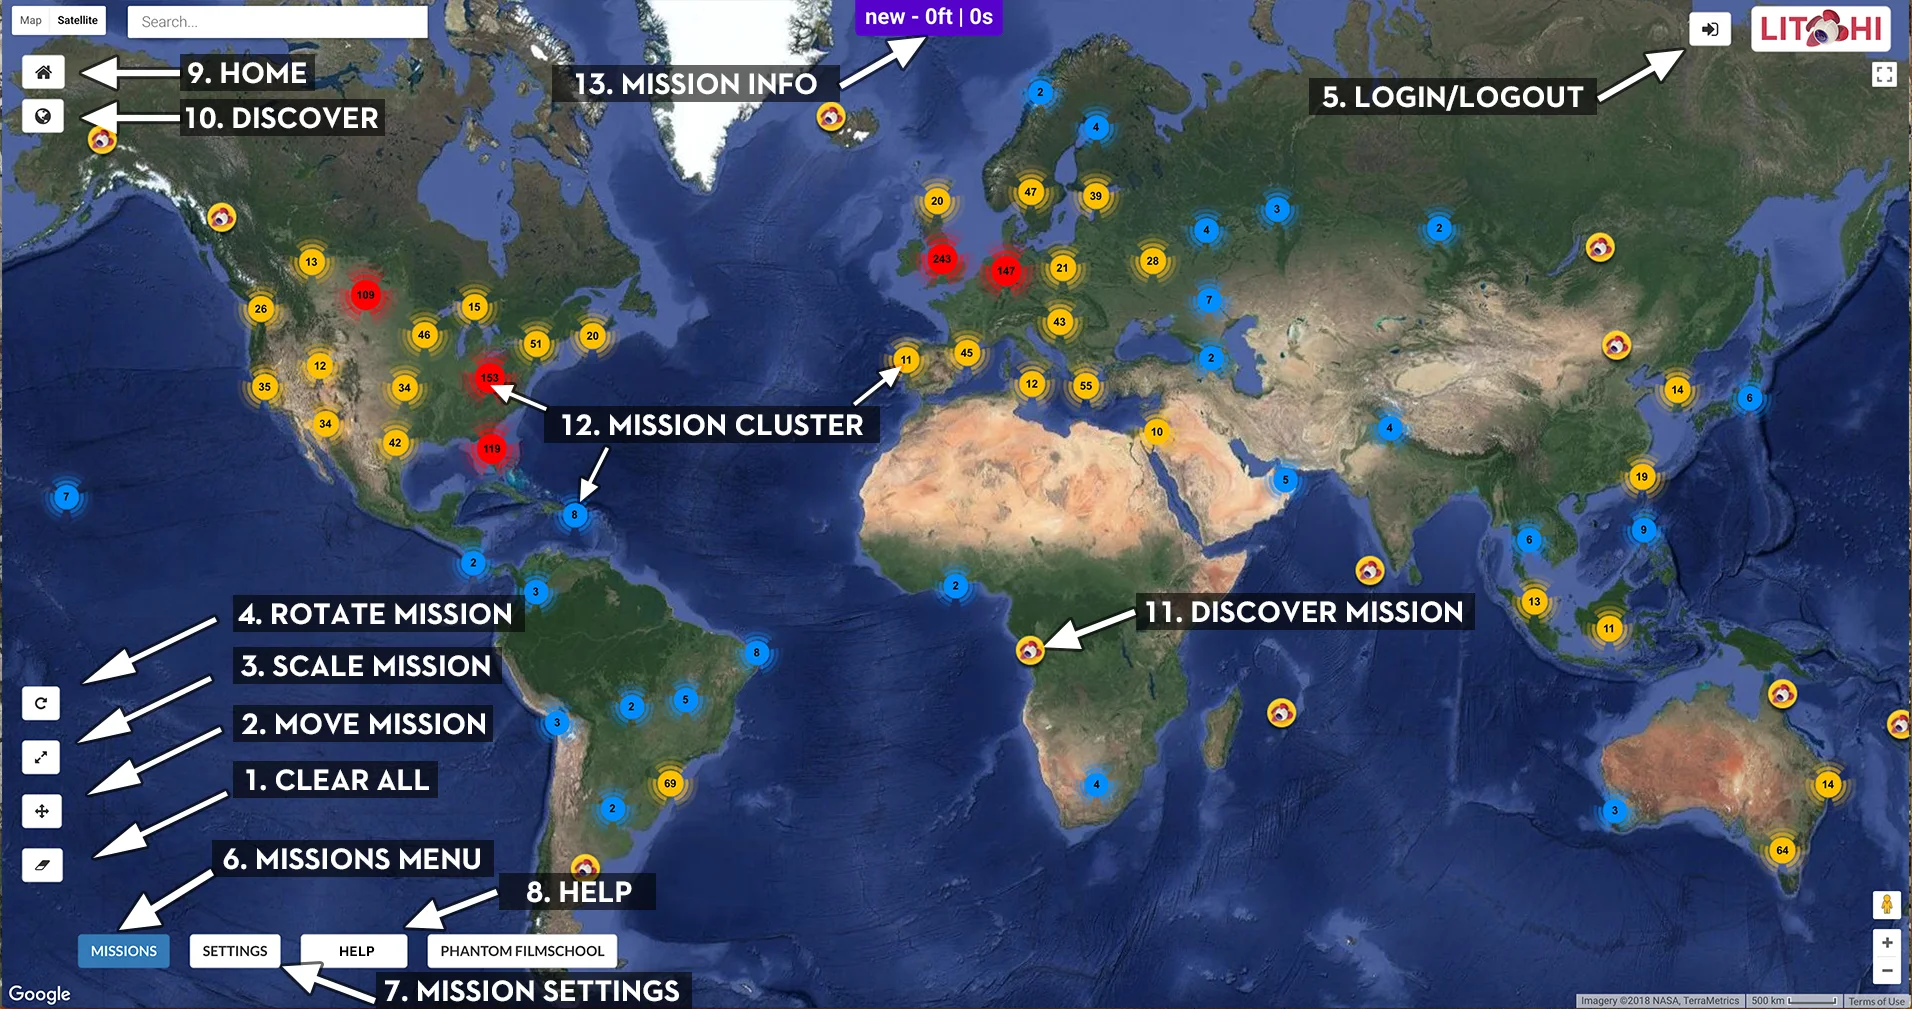
| Waypoint missions on Mini 3/4 Pro, automated flights | Litchi | ~$25 one-time |
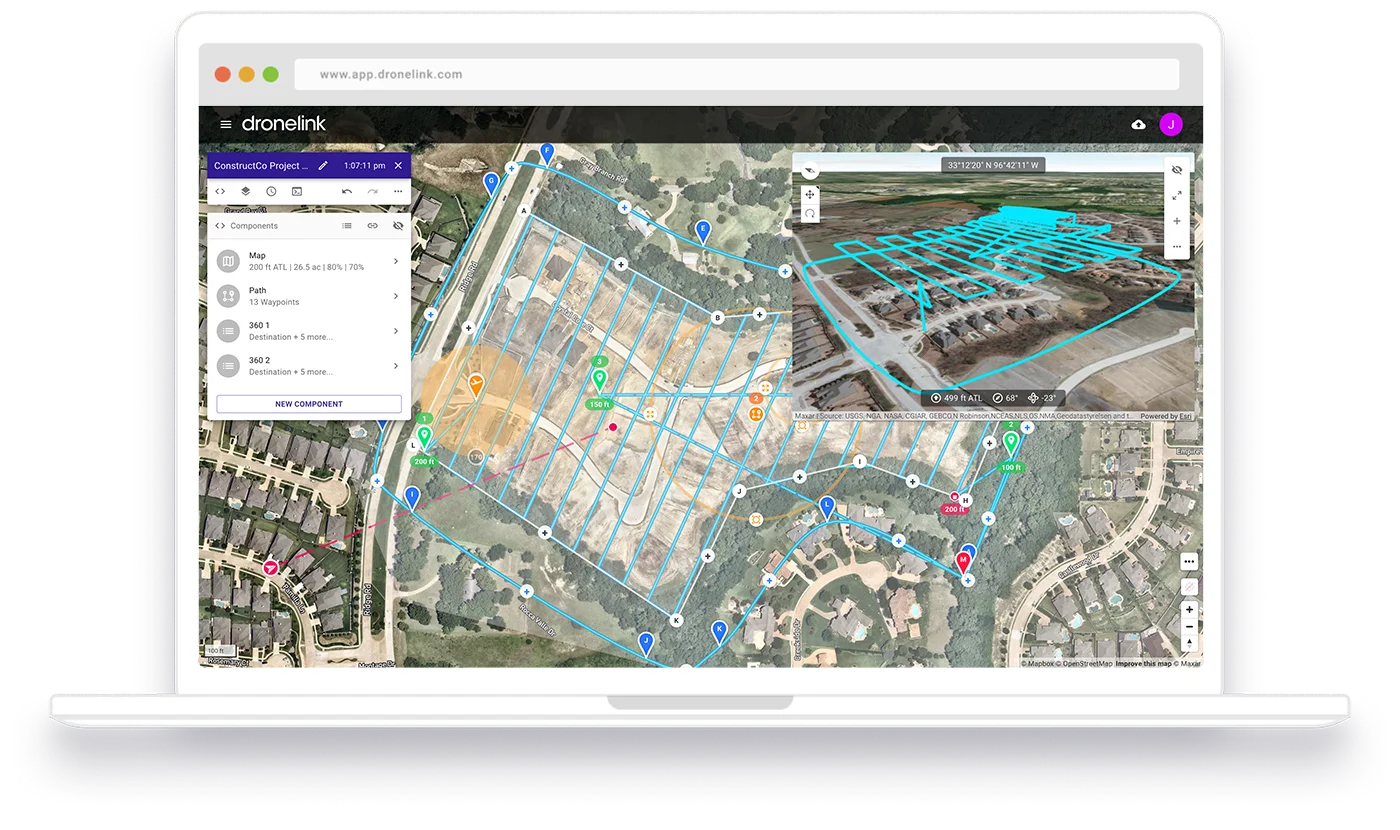
| Complex automated missions, multi-component sequences | Dronelink | Free + paid tiers |
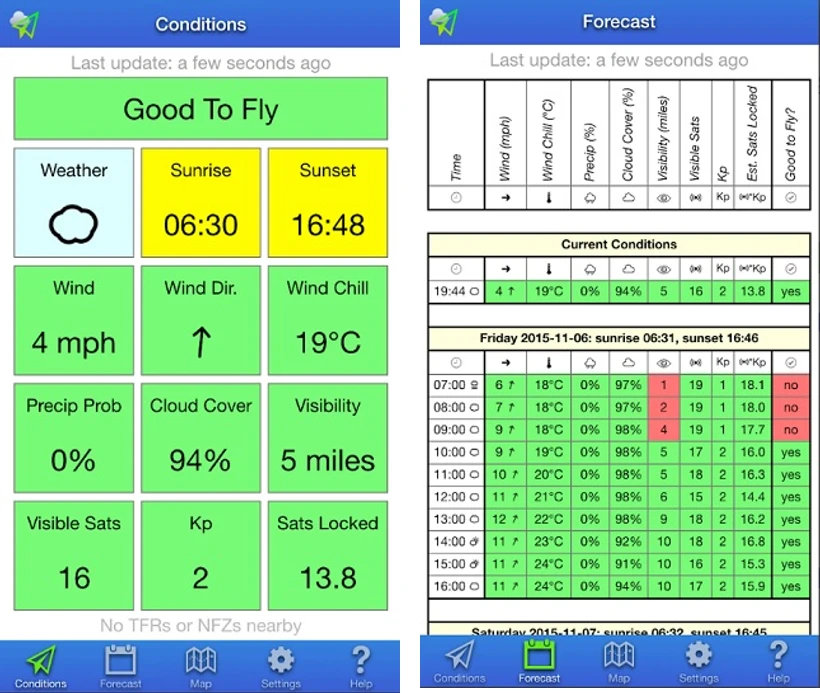
| Pre-flight weather, wind speed, satellite count | UAV Forecast | Free + paid |
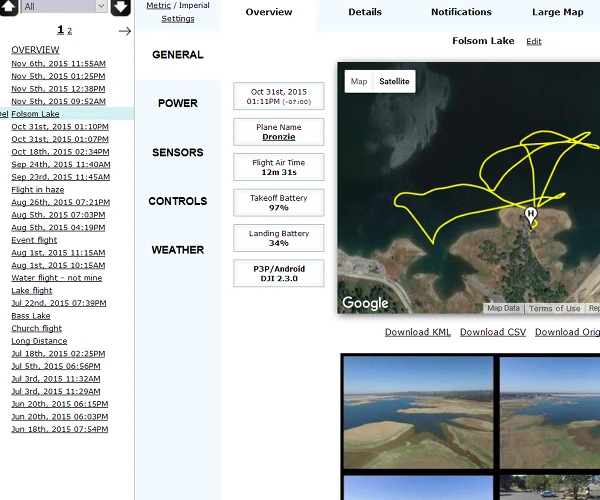
| Flight logging, Part 107 compliance, fleet tracking | AirData | Free + paid |
| Airspace safety checks before you drive to the site | B4UFLY (FAA official) | Free |
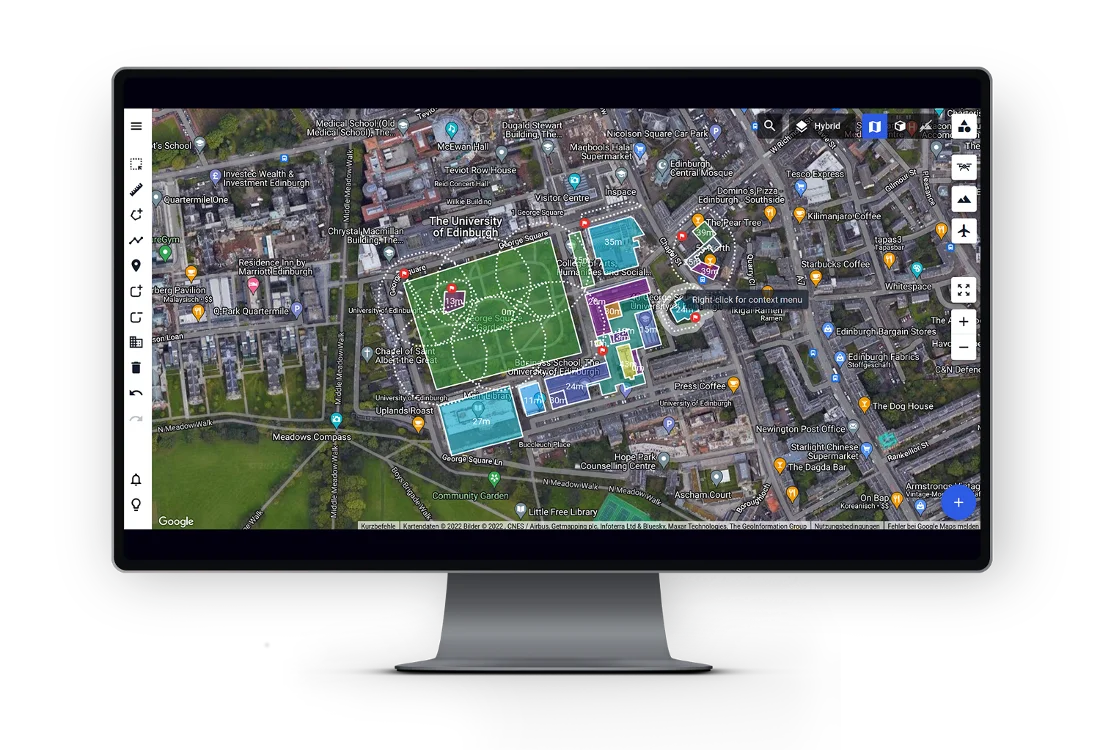
| 3D mission planning, terrain following, facade scans | Drone Harmony | Paid subscription |
One practical note on the 2026 DJI regulatory situation in the US: DJI SDK access for third-party apps has been affected by the ongoing federal restrictions. Litchi and Dronelink continue to function for most consumer drones, but pilots working in enterprise contexts should check each app's current DJI SDK compatibility status before depending on them for commercial work.